Note: It is recommended that the Plate Hooks for the AutoQueue be purchased here.
However, we understand that some users may want to manufacture some parts themselves.
The Plate Hook STL can be downloaded here: Plate Hook STL
The screws can be found here: Screws
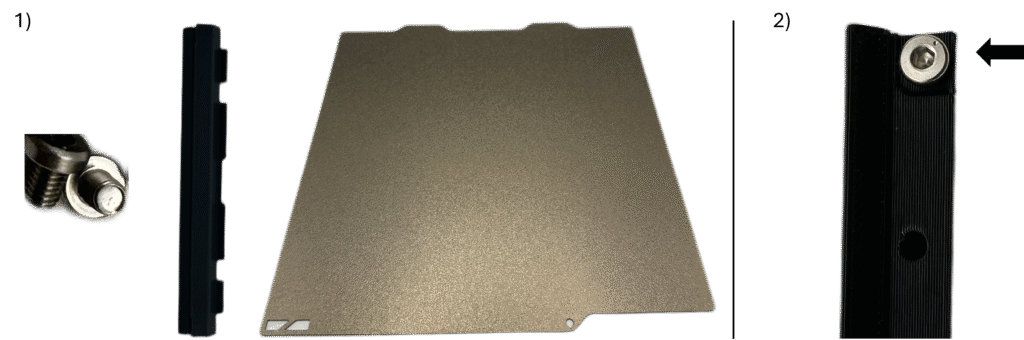
1. Locate two Plate Hook Screws, a Plate Hook, and a Build Plate.
2. Use the Smaller Allen Wrench to insert and slowly fully tighten one of the Plate Hook Screws into the outer-most hole on the Plate Hook. The Plate Hooks are symmetrical – either outer-most hole can be used. For this guide, the right-most hole is selected.
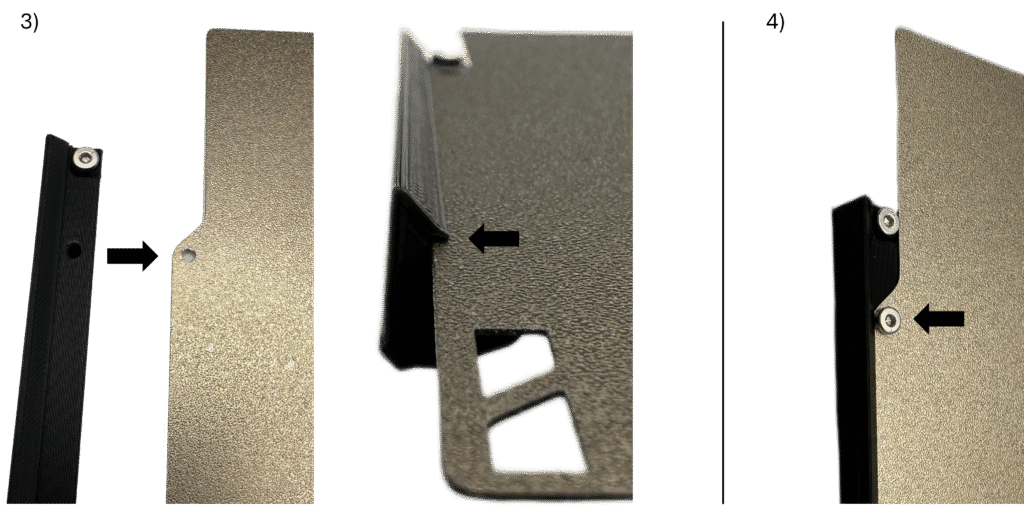
3. Slide the Plate hook directly on to the front of the Build Plate such that the hole nearest the previously inserted screw aligns with the circular hole in the Build Plate. If the holes do not align, the Build Plate may need flipped upside down. Confirm that the Build Plate is nestled into the notch in the Plate Hook as shown, and that the previously inserted screw is pressed up against the recessed edge of the Build Plate.
4. Insert the remaining Plate Screw through the circular hole in the Build Plate into the corresponding hole in the Plate Hook and slowly fully tighten. The remaining holes in the Plate Hook will not be used (and should not be visible) – but can be used in the future to utilize the other side of the Build Plate.
Repeat this process for all remaining Build Plates and Plate Hooks.
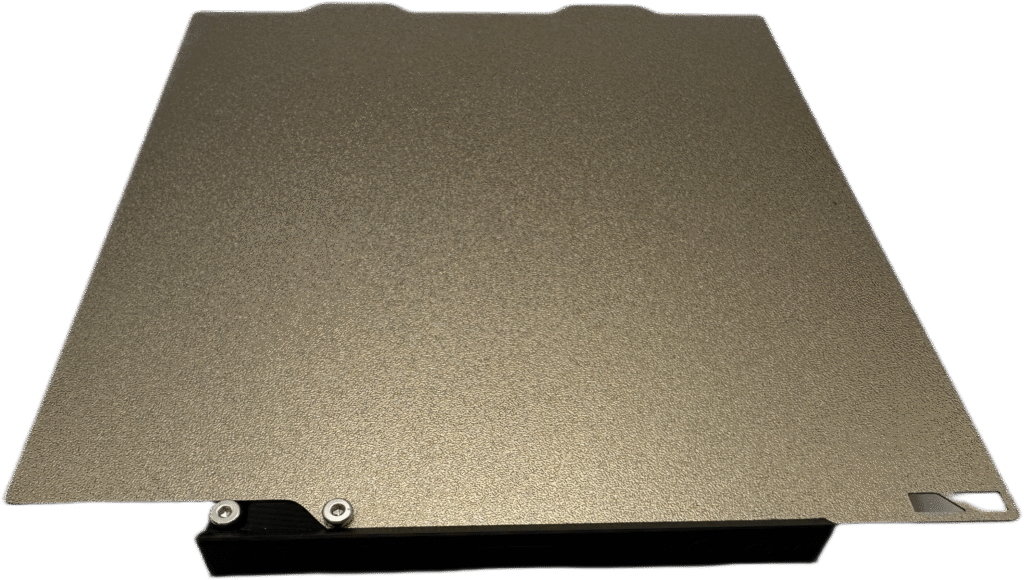
Plate Assembly Complete!